
 It's game day.Here in beautiful Ventura County, we definitely don't have a shortage of establishments hosting Game Day festivities. That's why we wanted to break down some of our absolute standouts! If you're still looking for a favorite haunt this Sunday, let us lend a hand. Read on!
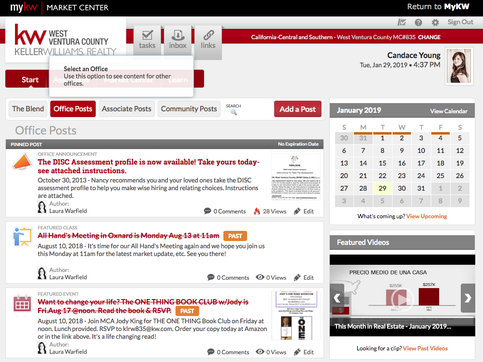
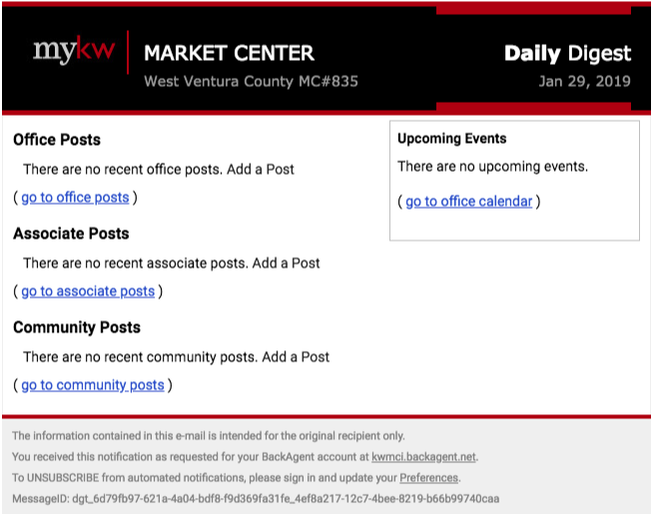
Daily Digest, No MoreIf you haven't yet noticed, the Daily Digest emails have become empty shells with no events and data. Unfortunately there is not an 'off' button for our MC to disable all emails from this system, but with a few quick steps you can manage your preferences. Step 1Click any of the blue 'go to' links in the email, you may be prompted to login in to myKW. Or, you can select myMarket Center Intranet from myKW.KW.com login page
Step 2Select the settings gear icon in the upper-right corner. 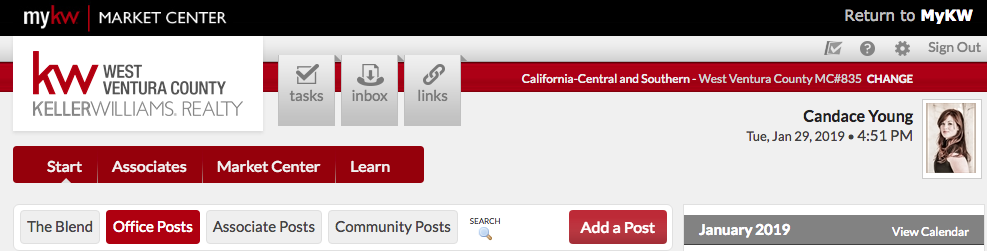 Step 3Navigate to My Preferences, Email & Notification Preferences.  Step 4Scroll down to Email Digests and choose Never and Update Frequency. 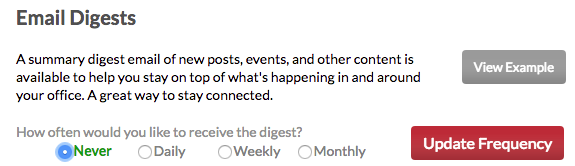 Success!You've rid yourself of these pesky empty emails. Now you can be sure to get connected with our new Calendar following the steps here.
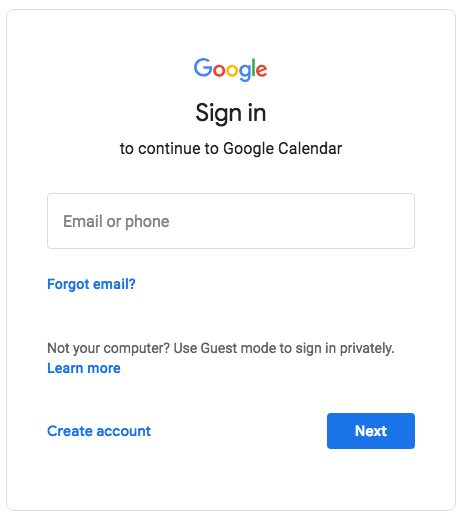
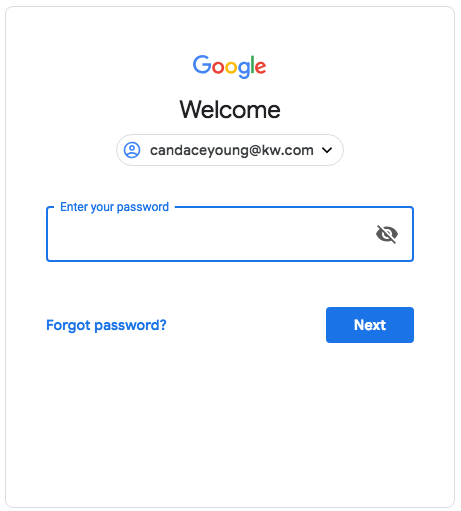
We want you to be in the know when it comes to training classes, meetings and events here at KWWVC. Here are a few steps you can take to connect your google account to our calendar. The following steps are shown on desktop device. Mobile iOS devices will require manual entry into their settings this can be viewed in another article. Step 1Visit our Calendar page and click the subscribe button. 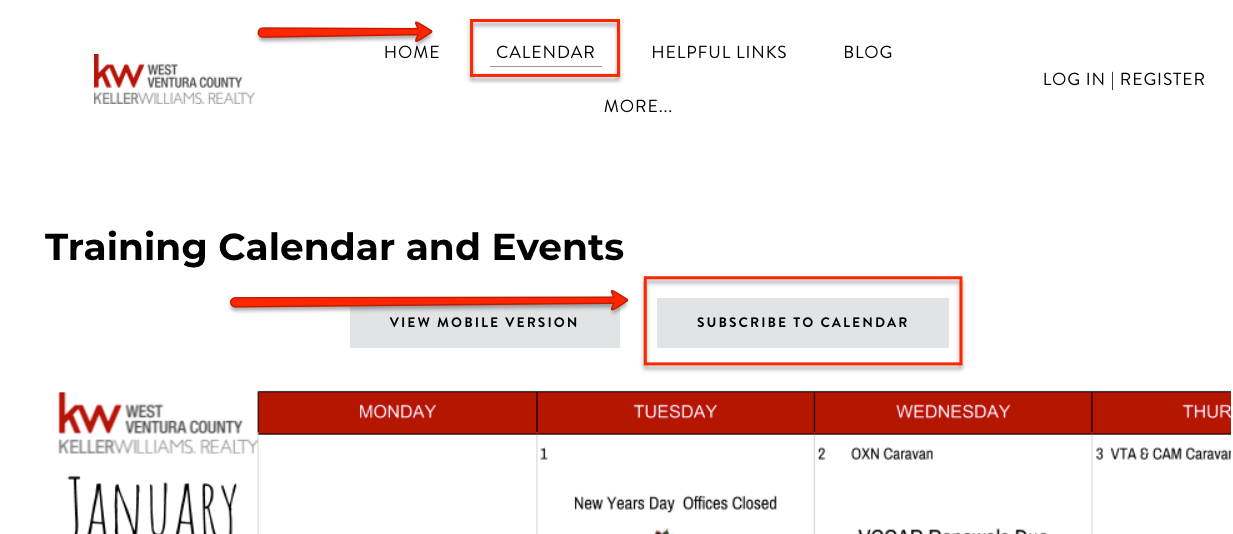 Step 2Sign in to your Google account; this could be a personal gmail account or your @kw.com account. If you are unsure about your password for your @kw.com account or for help on resetting it, please view this article. If you are already signed in to your preferred account, proceed to step three.
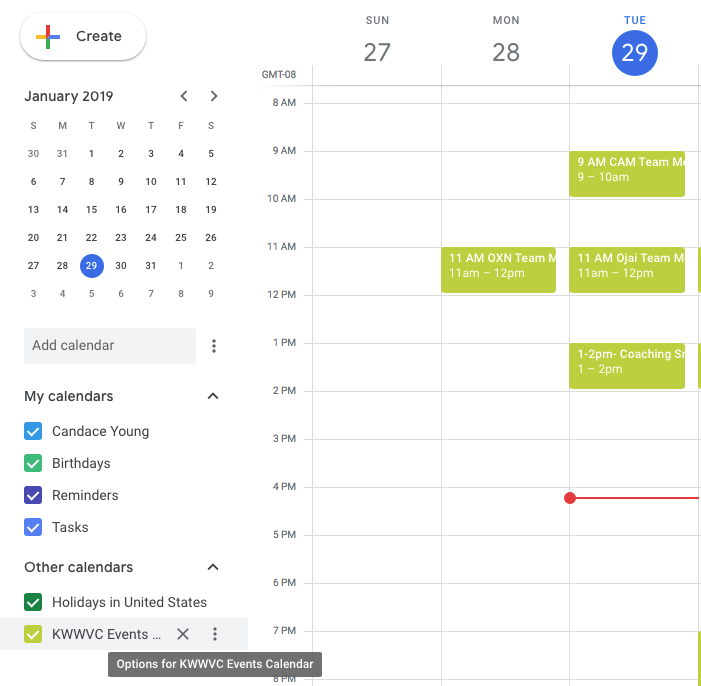
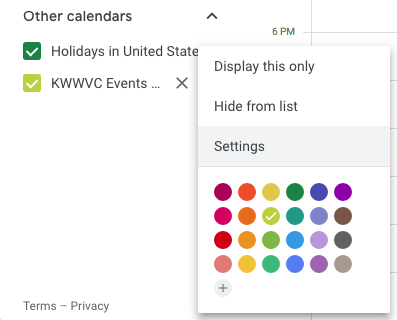
Step 3Agree to add our KWWVC Events Calendar to your account. 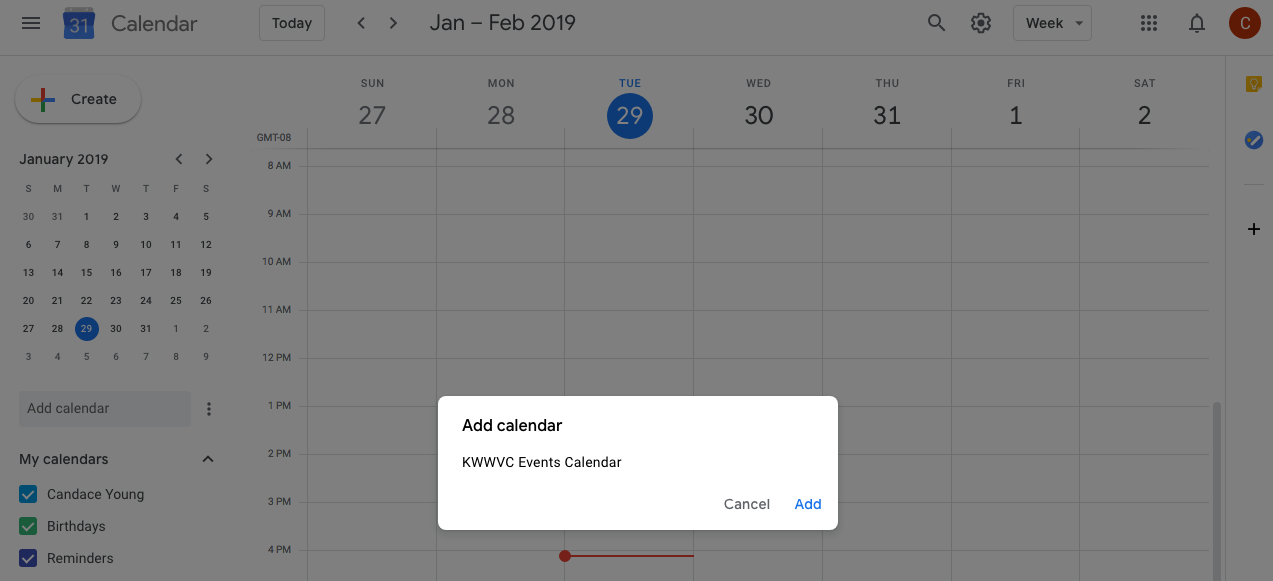 Step 4Personalize it! This is optional, but you can hover over the calendar in the left-hand side and select the three vertical dots for more options. From here you can personalize your notifications to your preference and much more.
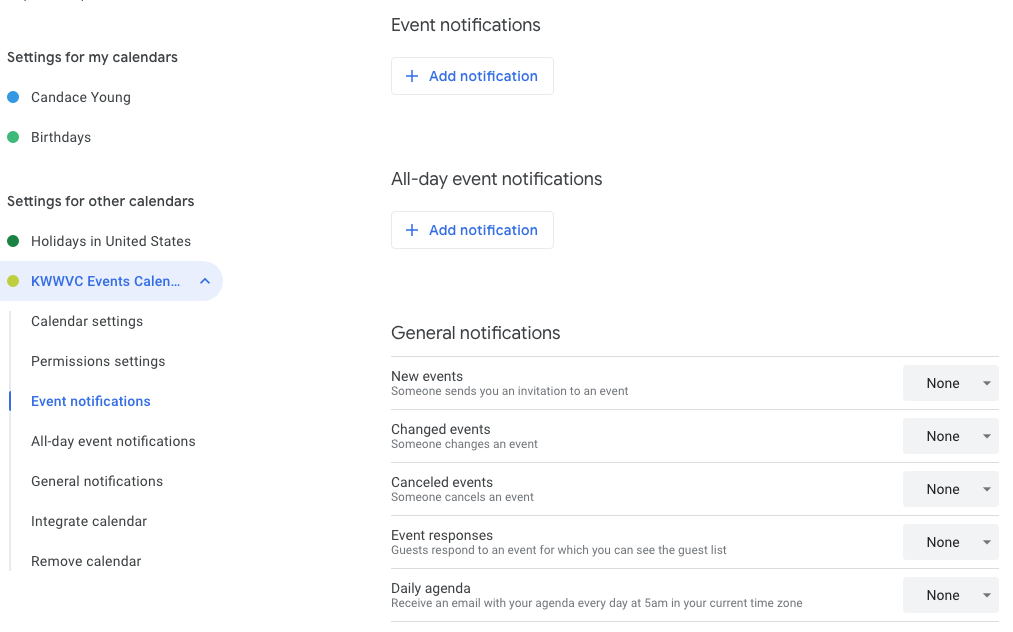 Congratulations, You're Connected!Now you'll be in the know as to events going on here at the office.
1. Create or Edit Your Templates
2. Making Use of Your Templates
Now go save yourself some time, and use those templates!
 It's that time again... Changes to CAR forms prompt us to update our templates. You can follow the steps and images outlined below to update your Templates or if you prefer a real-time video visit our other blog post. 1. Download the Updated ZipFile Select your office location and download the zipfile to your computer. The only difference between the files is the Office Address located in the cover page. You can find the files under our Resource Page under the RESOURCES > DRIVE DOCUMENTS > CAR ZipForms > Zipped Template Files.  2. Remove Old Templates While in ZipForms and viewing the Template Tab remove any old templates to clear the way for your new ones. You may wish to leave your Cover Templates to save a bit of data entry.  3. Import Your ZipFile Select Import and locate the ZipFile you recently downloaded items. Select 'OK' to import the file and then 'Yes' to confirm that you are uploading more than one zipped file. Now wait while it processes! Do not be tempted to click 'OK' again otherwise the file will be duplicated and you will end up with extra copies of templates... not fun.  4. Delete the Extra Cover Sheet To save yourself some data entry, you'll want to use your older coversheet that already has your name, license and contact info completed. You will want to delete the recently imported Cover Templates that are blank to keep things clean. Pay attention to the 'Modified' column to make sure you're deleting the most recent version of the Cover templates.  5. Apply Covers Templates Play Match-Maker by applying a Cover Template to each Transaction Template. Listing Cover with Listing Templates... Purchase Cover with Purchase Templates. Be sure to also add a Purchase Cover to your Buyers Representation Template as well. Working from the bottom tends to be easiest as the most recently edited templates move to the top of the list once completed.  6. Edit Template Details to Auto-Apply For the Three Listing Templates (Standard, Manufactured, Vacant Land, and Lease) and 3 Purchase Templates (Standard, Manufactured and Vacant Land) use the drop down arrow to select 'Template Details' and select the middle option under 'Auto Apply' so that this template will automatically be applied to every matching Agreement & Property Type.  You Did it!
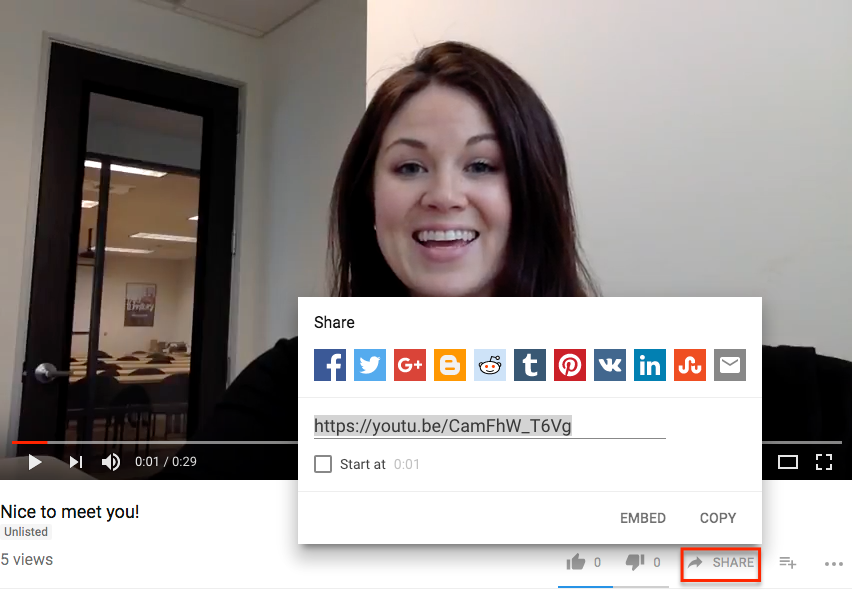
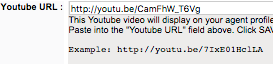
When was the last time you Googled yourself and words Realtor, Real Estate or Agent? Chances are your profile on KW.com was the first result that came up. But does the information look accurate? Did you click on the 'Visit My Website' only to find out it was showing some archaic eAgentC website, or something else entirely? Or did you not even know that this site existed? We'll take a look at where this information is fed from and review a few tips on how you spruce up your KW.com profile page. 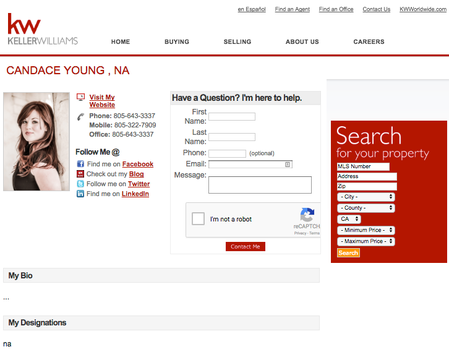 1. Review your information in KW White Pages The majority of the information displayed on your KW Profile is fed from your White Pages profile. Take a moment to review and complete the information fields. If something doesn't apply, there is no need to enter a value just to complete the field; your profile may not show as 100% complete to you - but it's better to have accurate information rather that fields that say 'NA' or '...". Your profile % only shows to you. Be sure to SAVE your changes at the bottom before exiting. 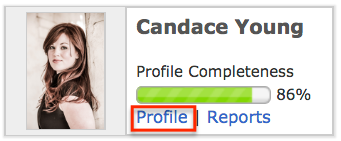 Select Profile 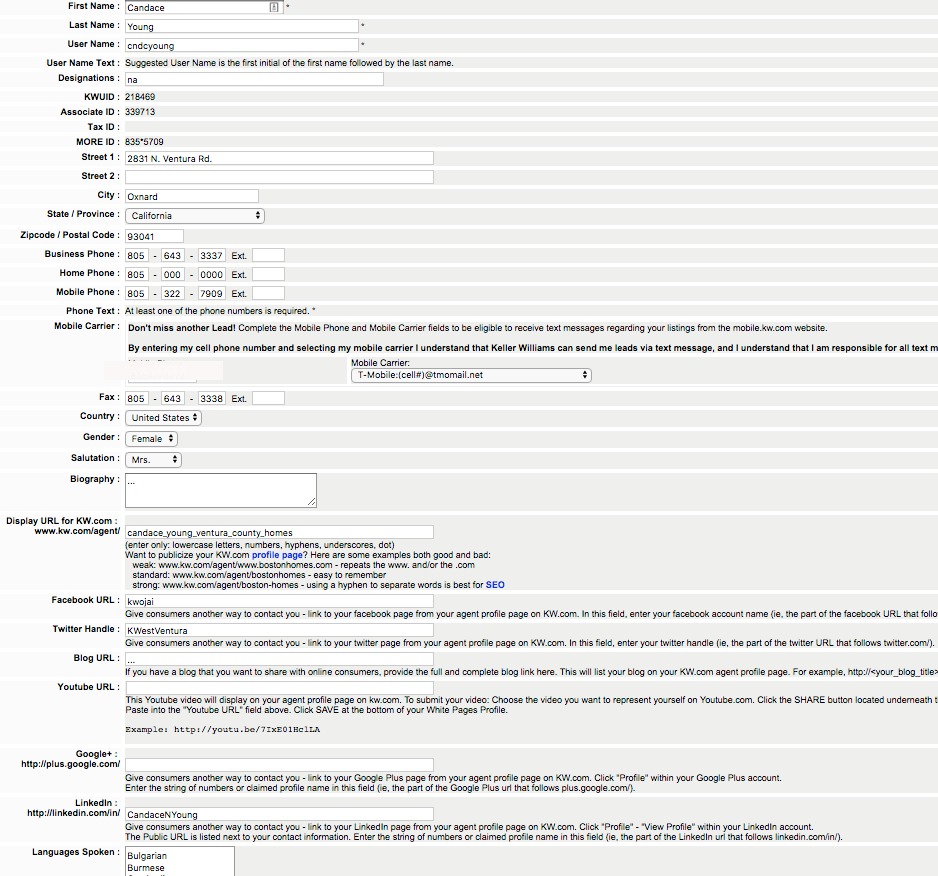 Review, Complete and Save Your Information 2. Boost Your Profile with a YouTube Video The YouTube URL field in White Pages allows for a YouTube video to be displayed on your profile page. This a great spot for a Biography, Team or Mobile App video. Follow the instructions listed below the field. Please note that the video cannot be privately listed, it must be viewable to the public in order show on your KW.com profile. You will likely need to manually remove the 's' in the HTTPS prefix part of the URL, in order for the data to save in White Pages.
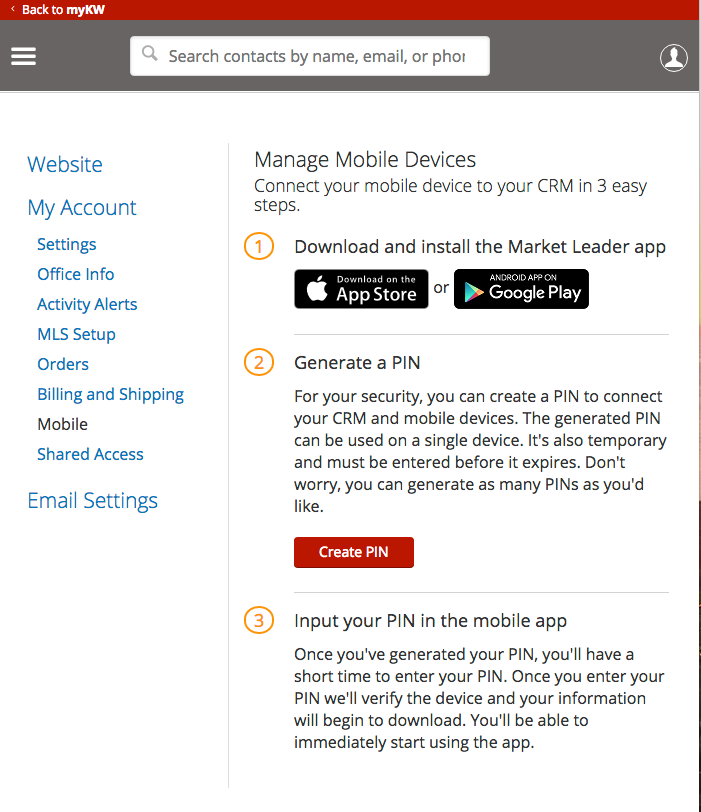
3. Promote the Right Website This is where we replace that funky old eAgentC website with something a bit better. Likely you'll use your KW a.k.a. Placester Website address for the 'Visit My Website' link, or some other website of your choosing. To change this we'll select the + sign next to myMarketing and choose Edit eAgentC Website. We'll then navigate to section 2.0, then select section 2.4 for Site Info. Be sure under the Hosting header that the Website to Display has the second bubble checked for 'Alternate'. Then in the Alternate website field enter your the full URL for the website of your choice and SAVE changes. 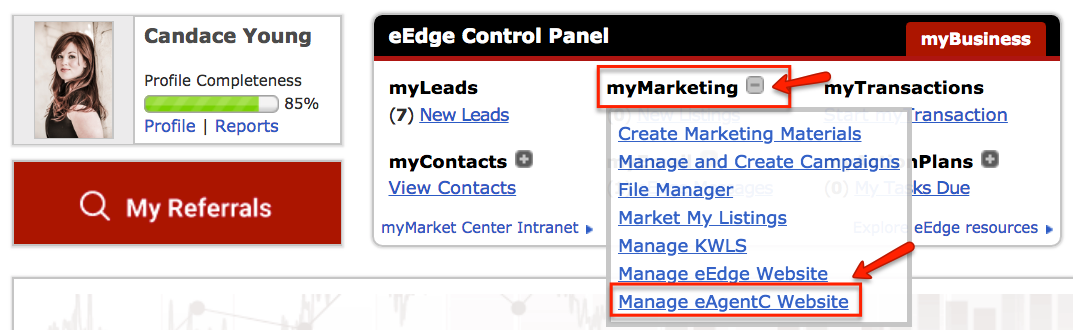 Select Profile 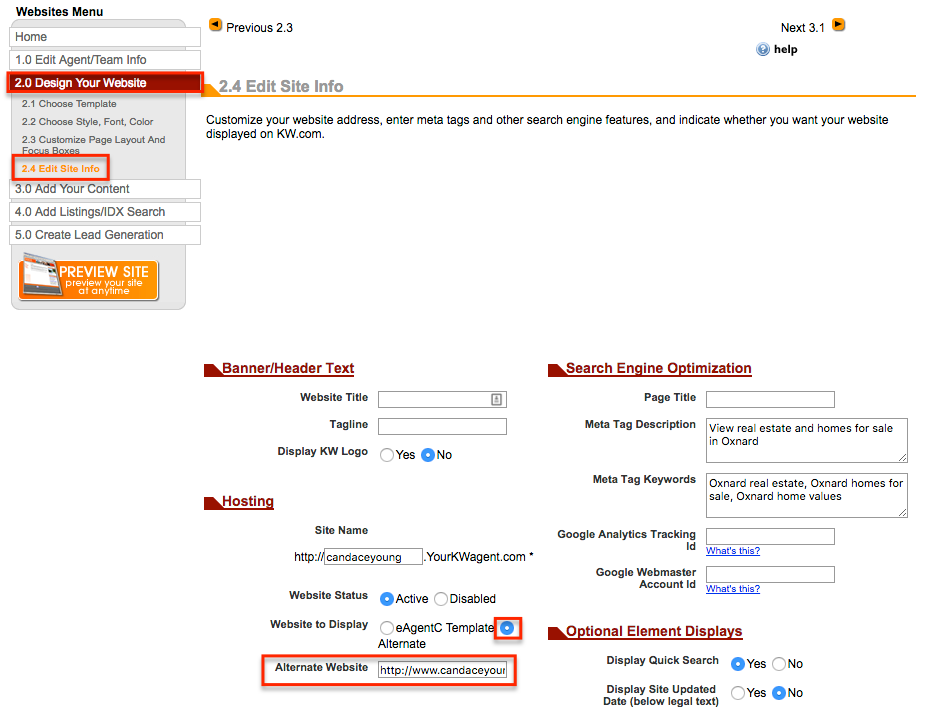 Section 2.4, Check the Alternate Website Bubble and Enter Your Alternate URL & SAVE CONGRATS! You've Updated Your Profile!1. Either start a 'Map Search' or View the 'Map' tab from within a search. 2. Click on the 'Red Push Pin' in the bottom right corner of the screen. 3. Enter the subject property address and select 'Locate'. 4. Adjust the location of the 'Push Pin' if needed, then select 'Use This Location' to confirm the placement on the map. 5. If you would like to perform a 'Radius Search', make that selection and enter in your preferred distance. This function is a great way to start your search for comparable properties; just be sure to refine your results using the the additional criteria on the left (square ft, bed, bath, status...) 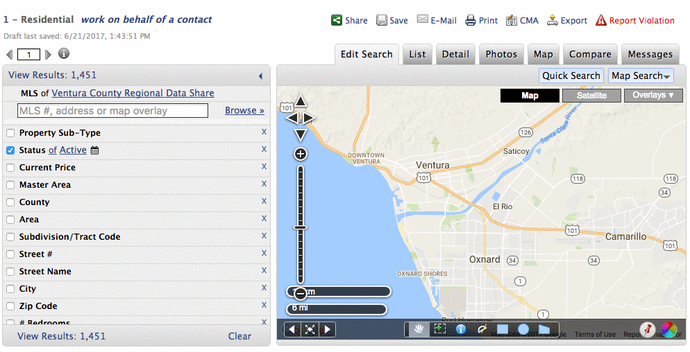 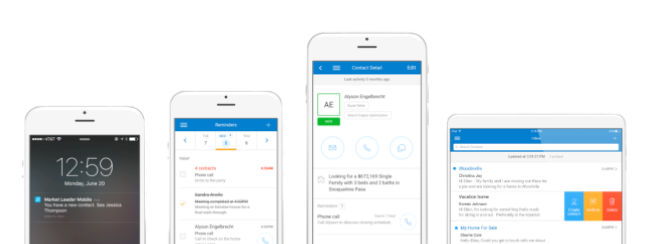 Market Leader App - NOW FREE!What was once a paid app is now FREE! Now you can manage your eEdge CRM on the go in an easy user friendly mobile app in just a few easy steps.
Never be without again! Always have your database at the tips of your fingers at any moment - add or update contacts, add them to existing campaigns, manage your email, reminders and more...  A Common TacticAll too often I receive forwarded emails from worried agents who suspect their email accounts have been 'hacked' when in reality they have been a target of a phishing or spear-phishing attack. Phishing is the practice of sending emails that appear to be from reputable companies or contacts in an effort to obtain personal information from the recipient; passwords, credit cards or the like. Spear-Phishing takes it up a notch, in which the emails appear to be from a known or trusted sender and thus lower the guard of their target individuals in hopes that they reveal confidential information. In either case, the target had not been 'hacked' but unknowingly volunteered the sensitive information or passwords to the Phisher. Often times falling victim to a Phishing attempt in which they attacker successfully obtained your email password will allow the Phisher to them use your account to conduct Spear-Phishing on other users. Real Estate agents are perfect targets with their personal information listed online and a desire to quickly respond to leads. With Phishing on the rise, how can you protect yourself? Use Common SenseThat all-cash 1.5 million dollar buyer looking to write a offer that same day and who provided a link to their itemized list of criteria with no phone number or reference to a property... you guessed it - is probably fake. If it feels to good to be true it likely is. Your gut feeling is usually right when something feels off, trust that and proceed with caution. You know who you've been doing business with, who's previewed your property, what your contacts typically sound like when they correspond with you, what the 'norm' is for inquiries from clients... TRUST YOUR GUT! Best Practices
For more information on how to recognize and avoid phishing attacks check out this info-graphic.
Do you need to catch up on FLEX MLS training? Below are the previously recorded webinar links to get you up to speed and ready for the 'go live' date of December 13th.
Handouts and GuidesGetting Started with FLEX MLSSearching Tools in FLEX MLSFLEX MLS Subscriptions & PortalsFLEX MLS Mobile and FLEX MLS ProListing MaintenanceCMAs & the 1004 MC FormClient Focused Tutorials |
AuthorKWWVC Staff Archives
January 2019
Categories |


 RSS Feed
Each office independently owned and operated. Copyright © 2018 CALBRE#01859199